My RV plumbing is not designed to withstand temperatures much below 20 degrees. I can keep the water running and the pipes from freezing down to that temp, but it is always iffy. It really all depends on how long the temps drop that low.
Insulation helps the pipes stay open on those long cold nights. Previously I insulated the hot and cold water lines going to my kitchen sink (using the round, gray pipe insulation that looks like a pool noodle). I could see those pipes every time I opened the lower cupboard, and it was an easy project.
I was not sure where the lines came into the bathroom, but after removing some panels in there, I found a huge hub of lines, including the main line in from the hot water heater. The panel is accessed through the vanity, under the vanity cupboard.
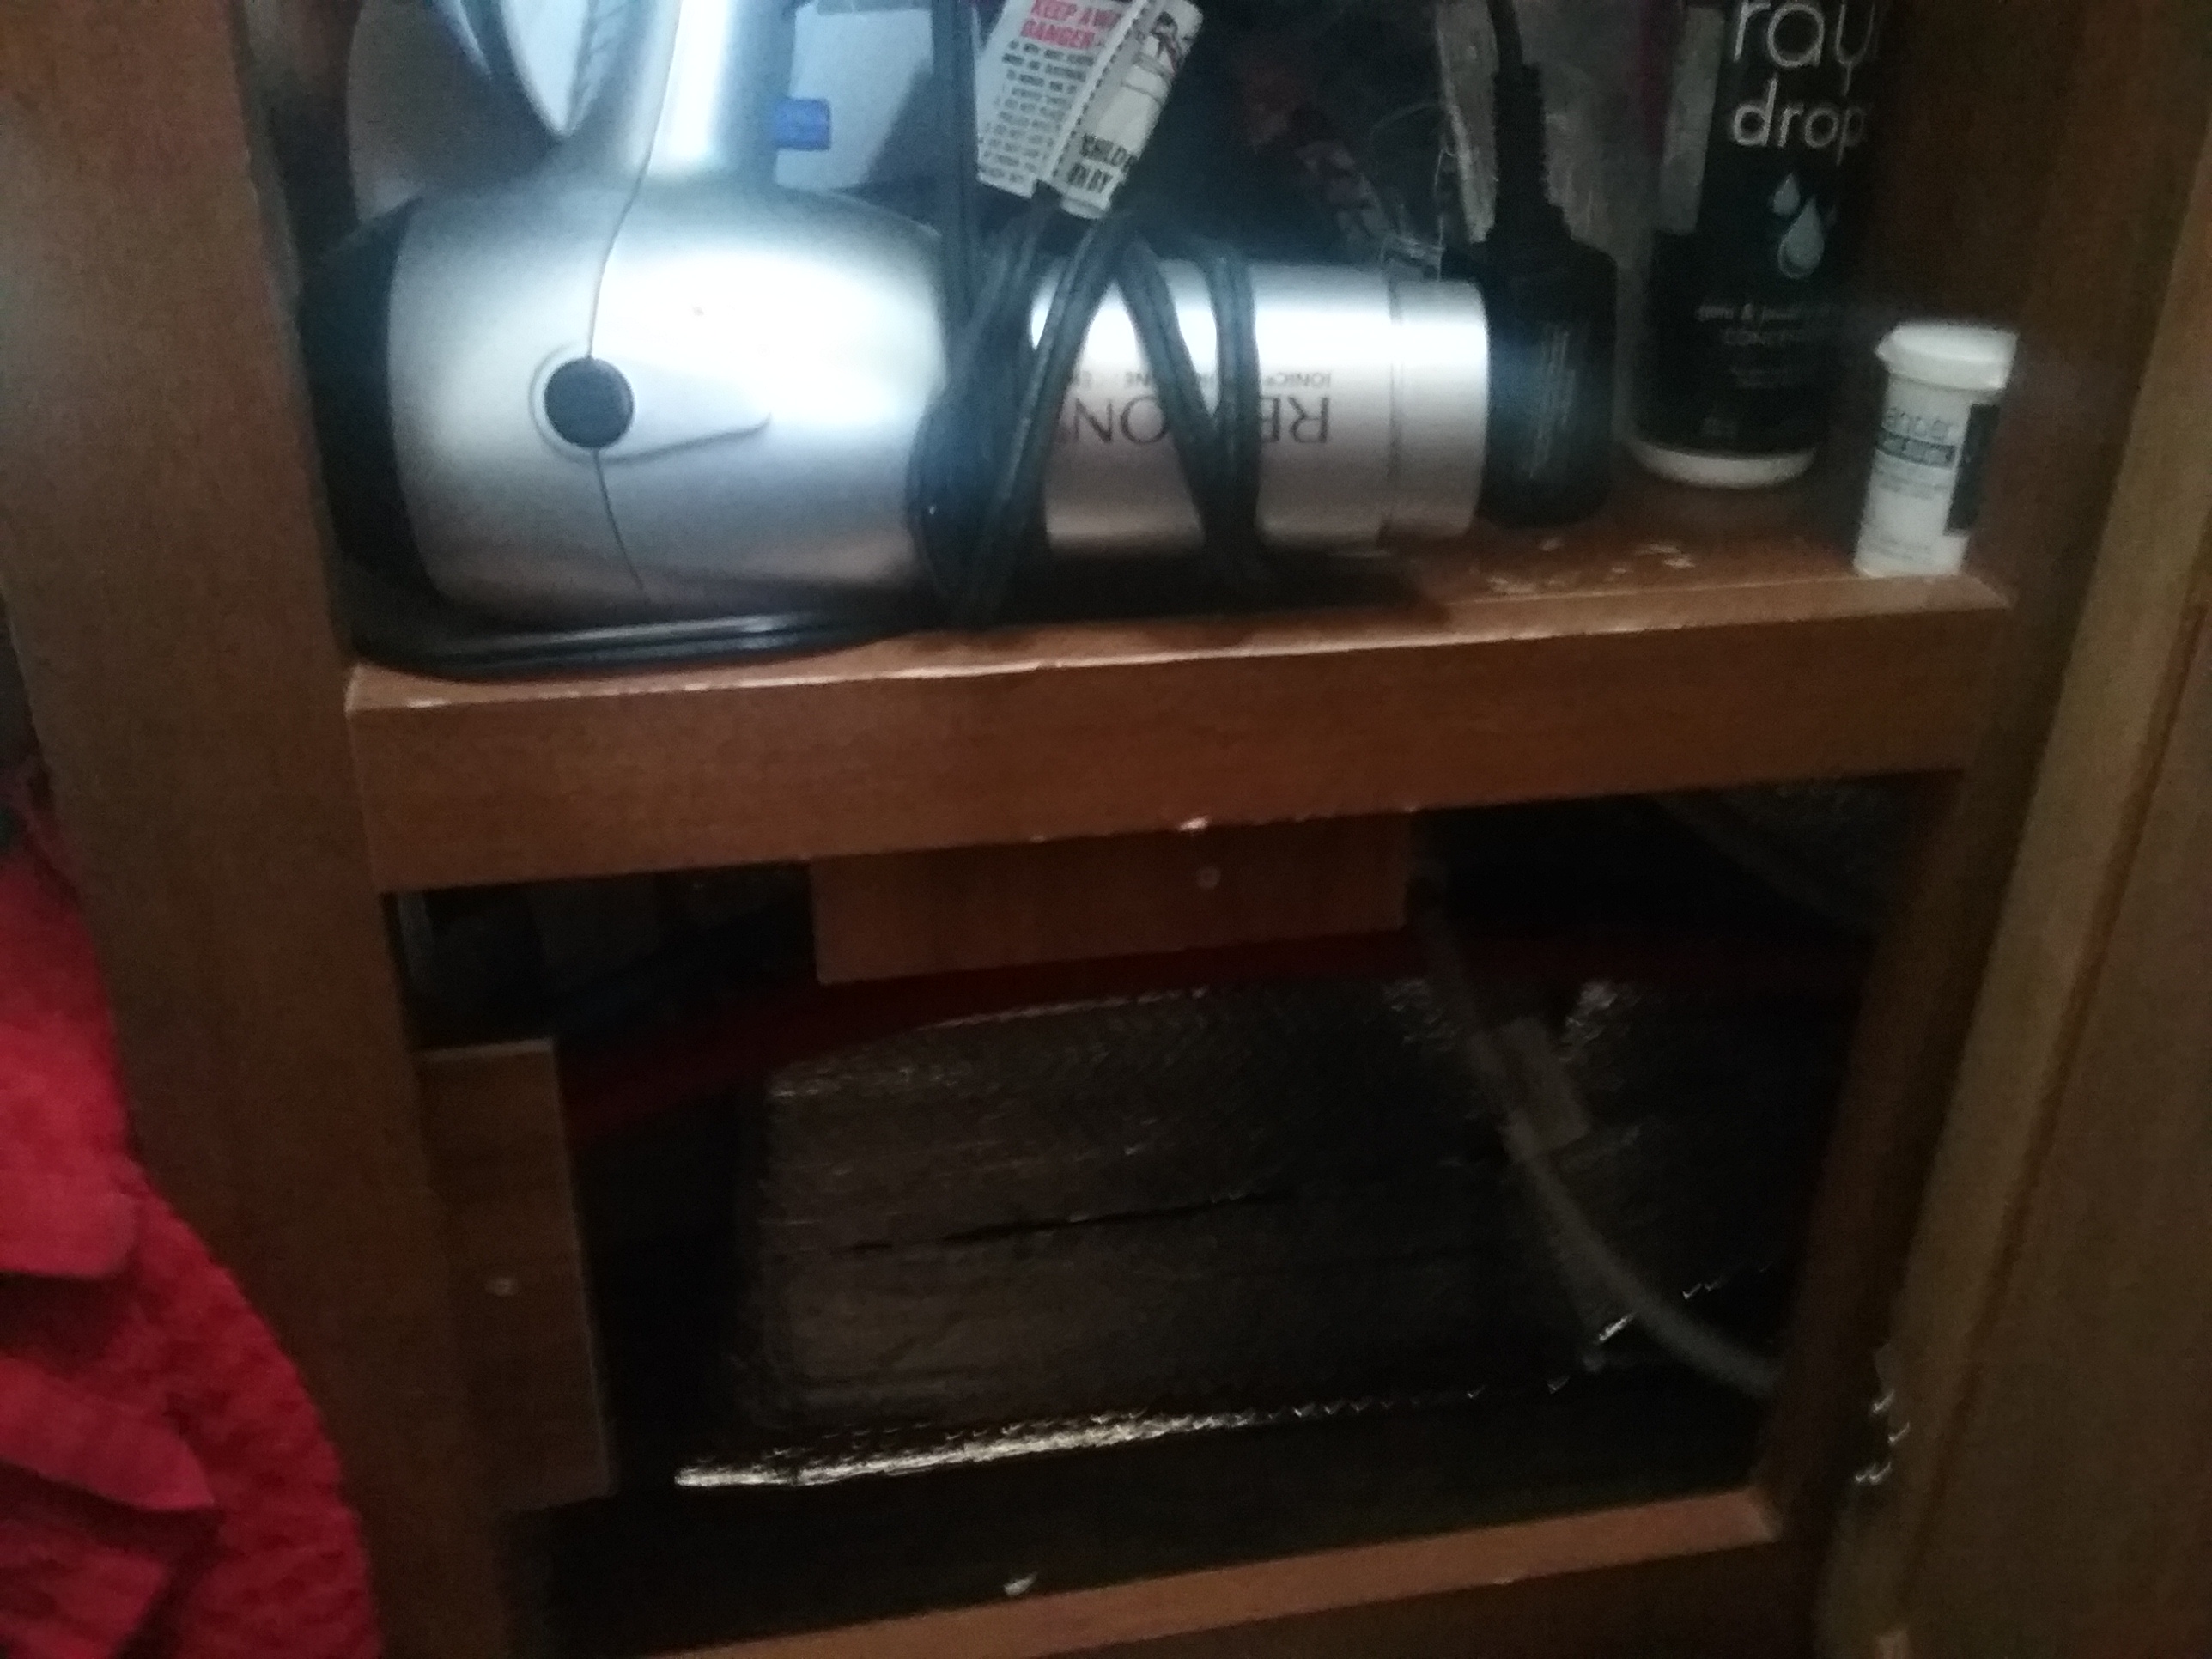
Vanity door open. the bottom space is where the water lines are. I removed a panel that was screwed in place and added insulation
These uninsulated water lines run right next to the barely insulated exterior wall. There is not enough room to insulate each line separately like I did under the sink so I decdied to just insulate the whole cubby. I dug out some flat, silver stuff that I use in car windows and slid it between the wall and the pipes. Next, I went to my nearby ACE Hardware and they showed me to a small roll of pink insulation that I could stuff in.
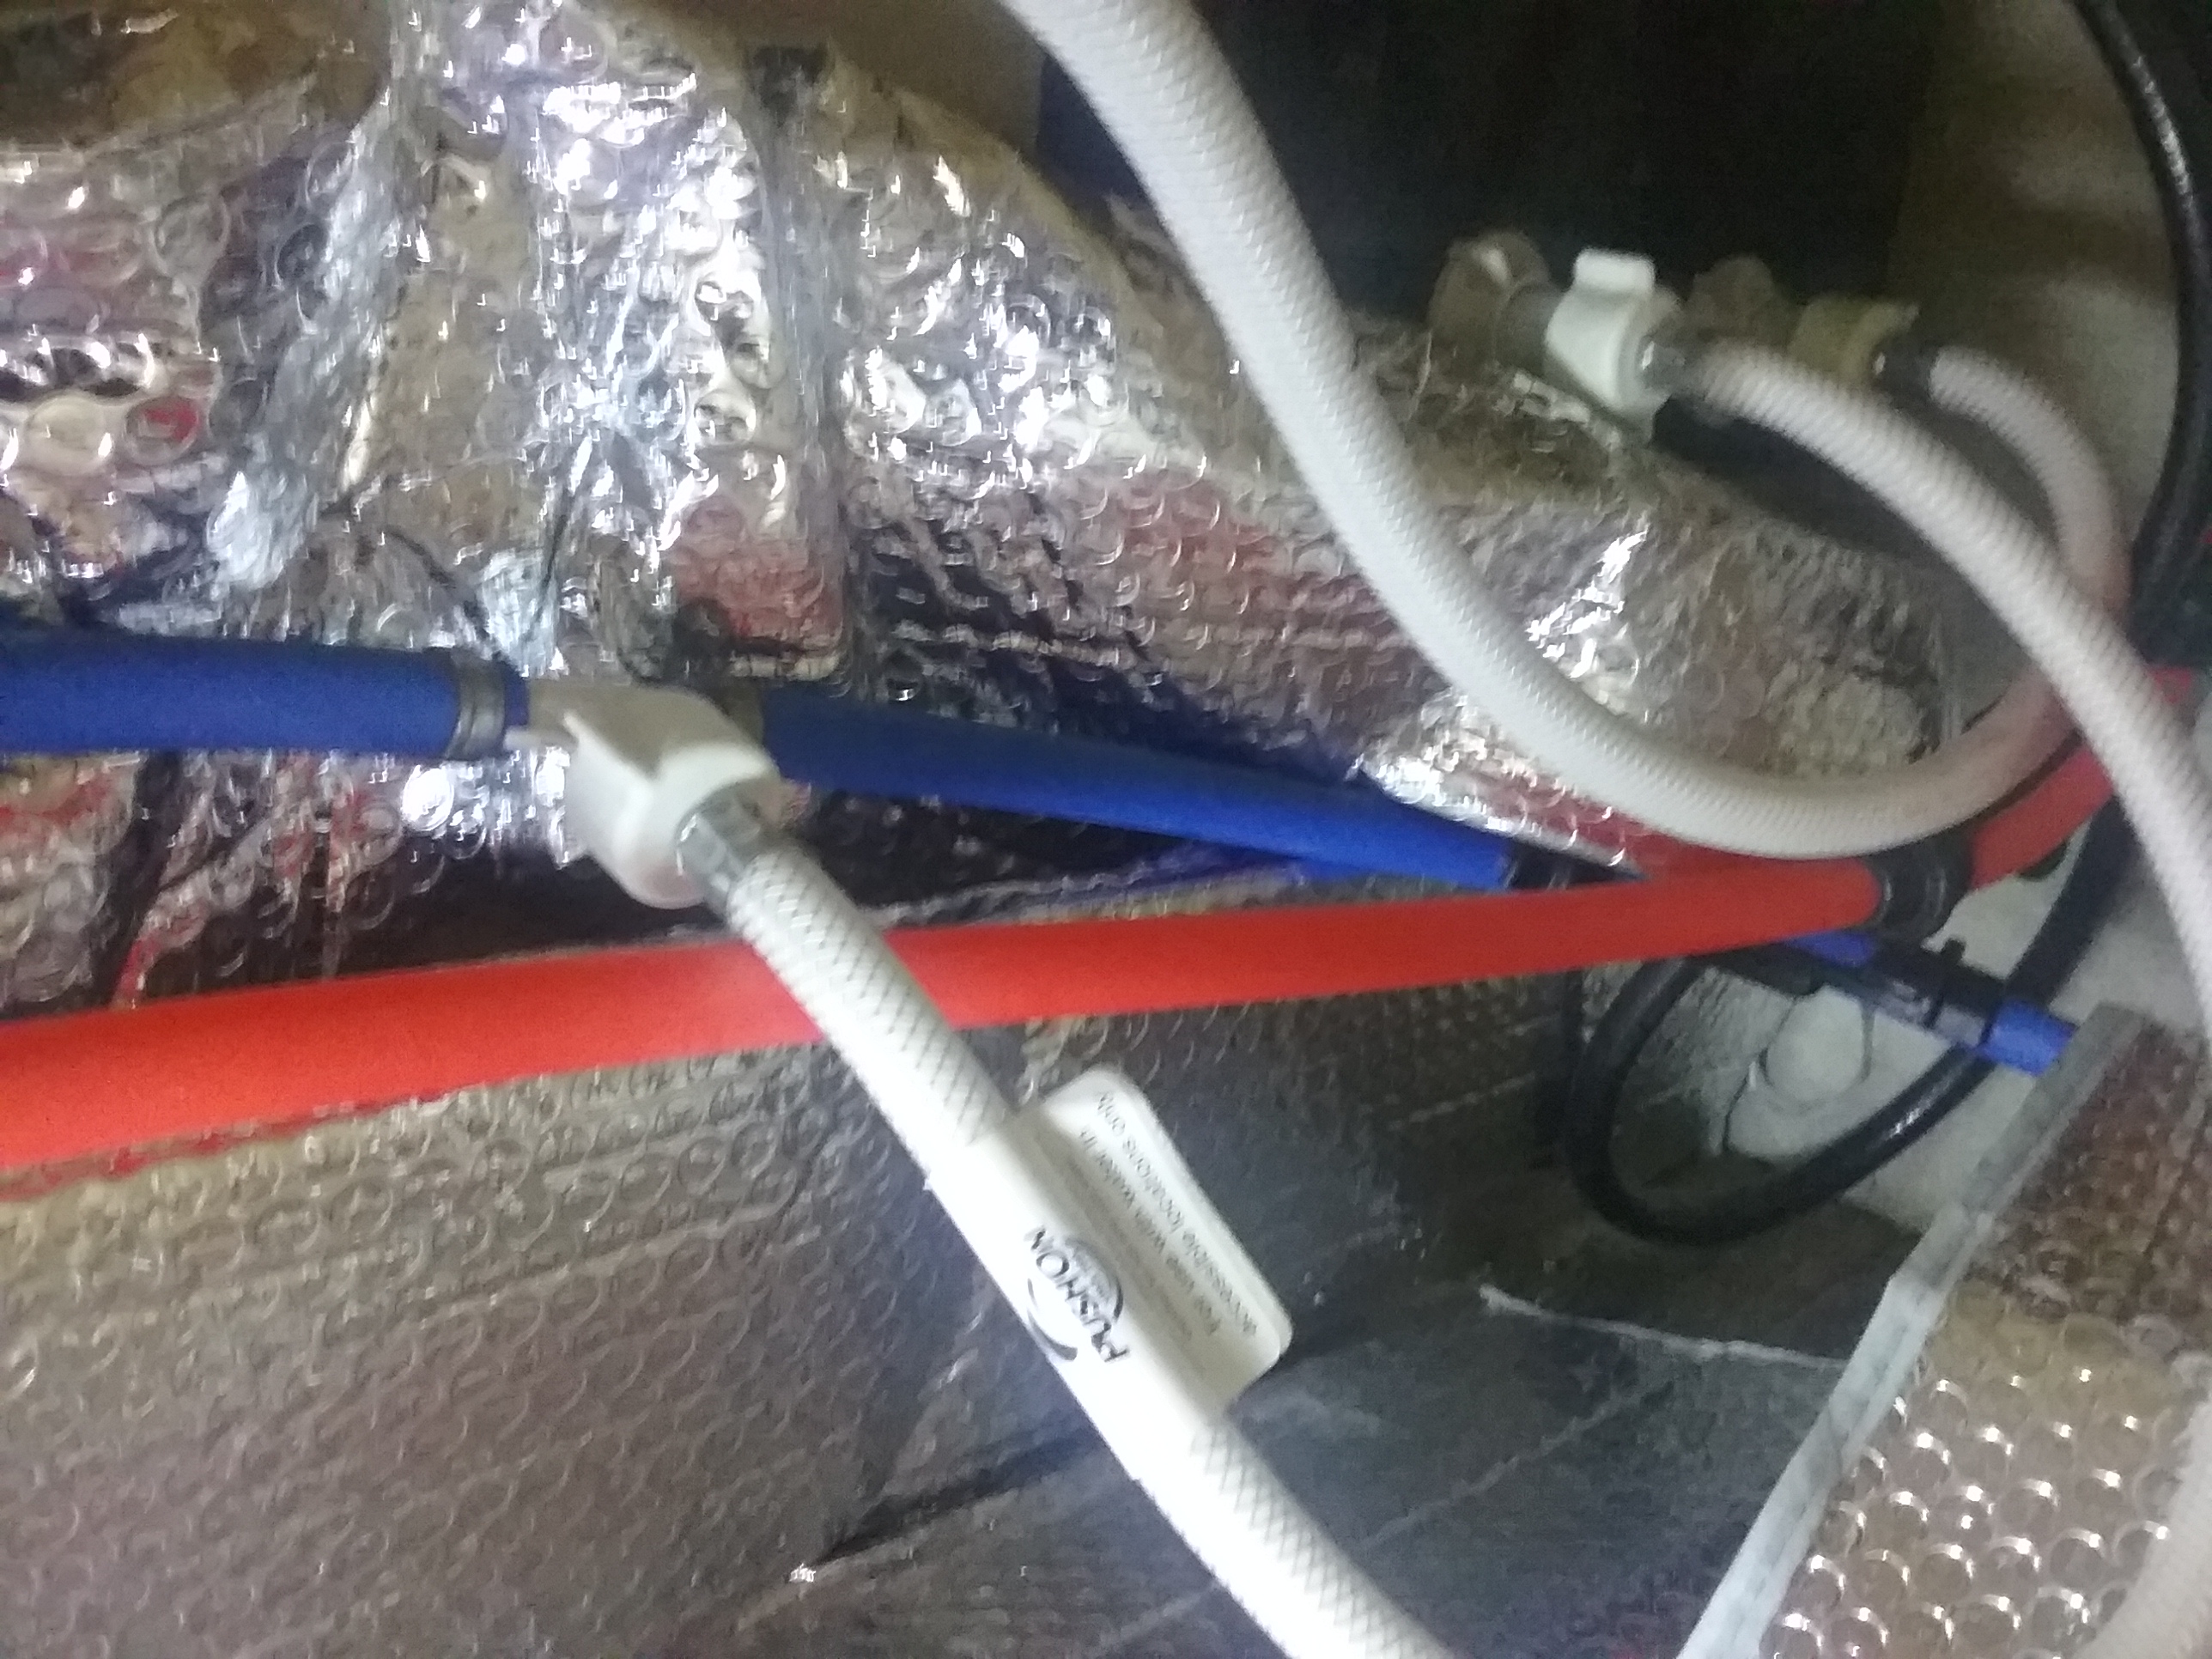
Water lines under the bathroom sink and some car shade screen between the lines and the outer wall.
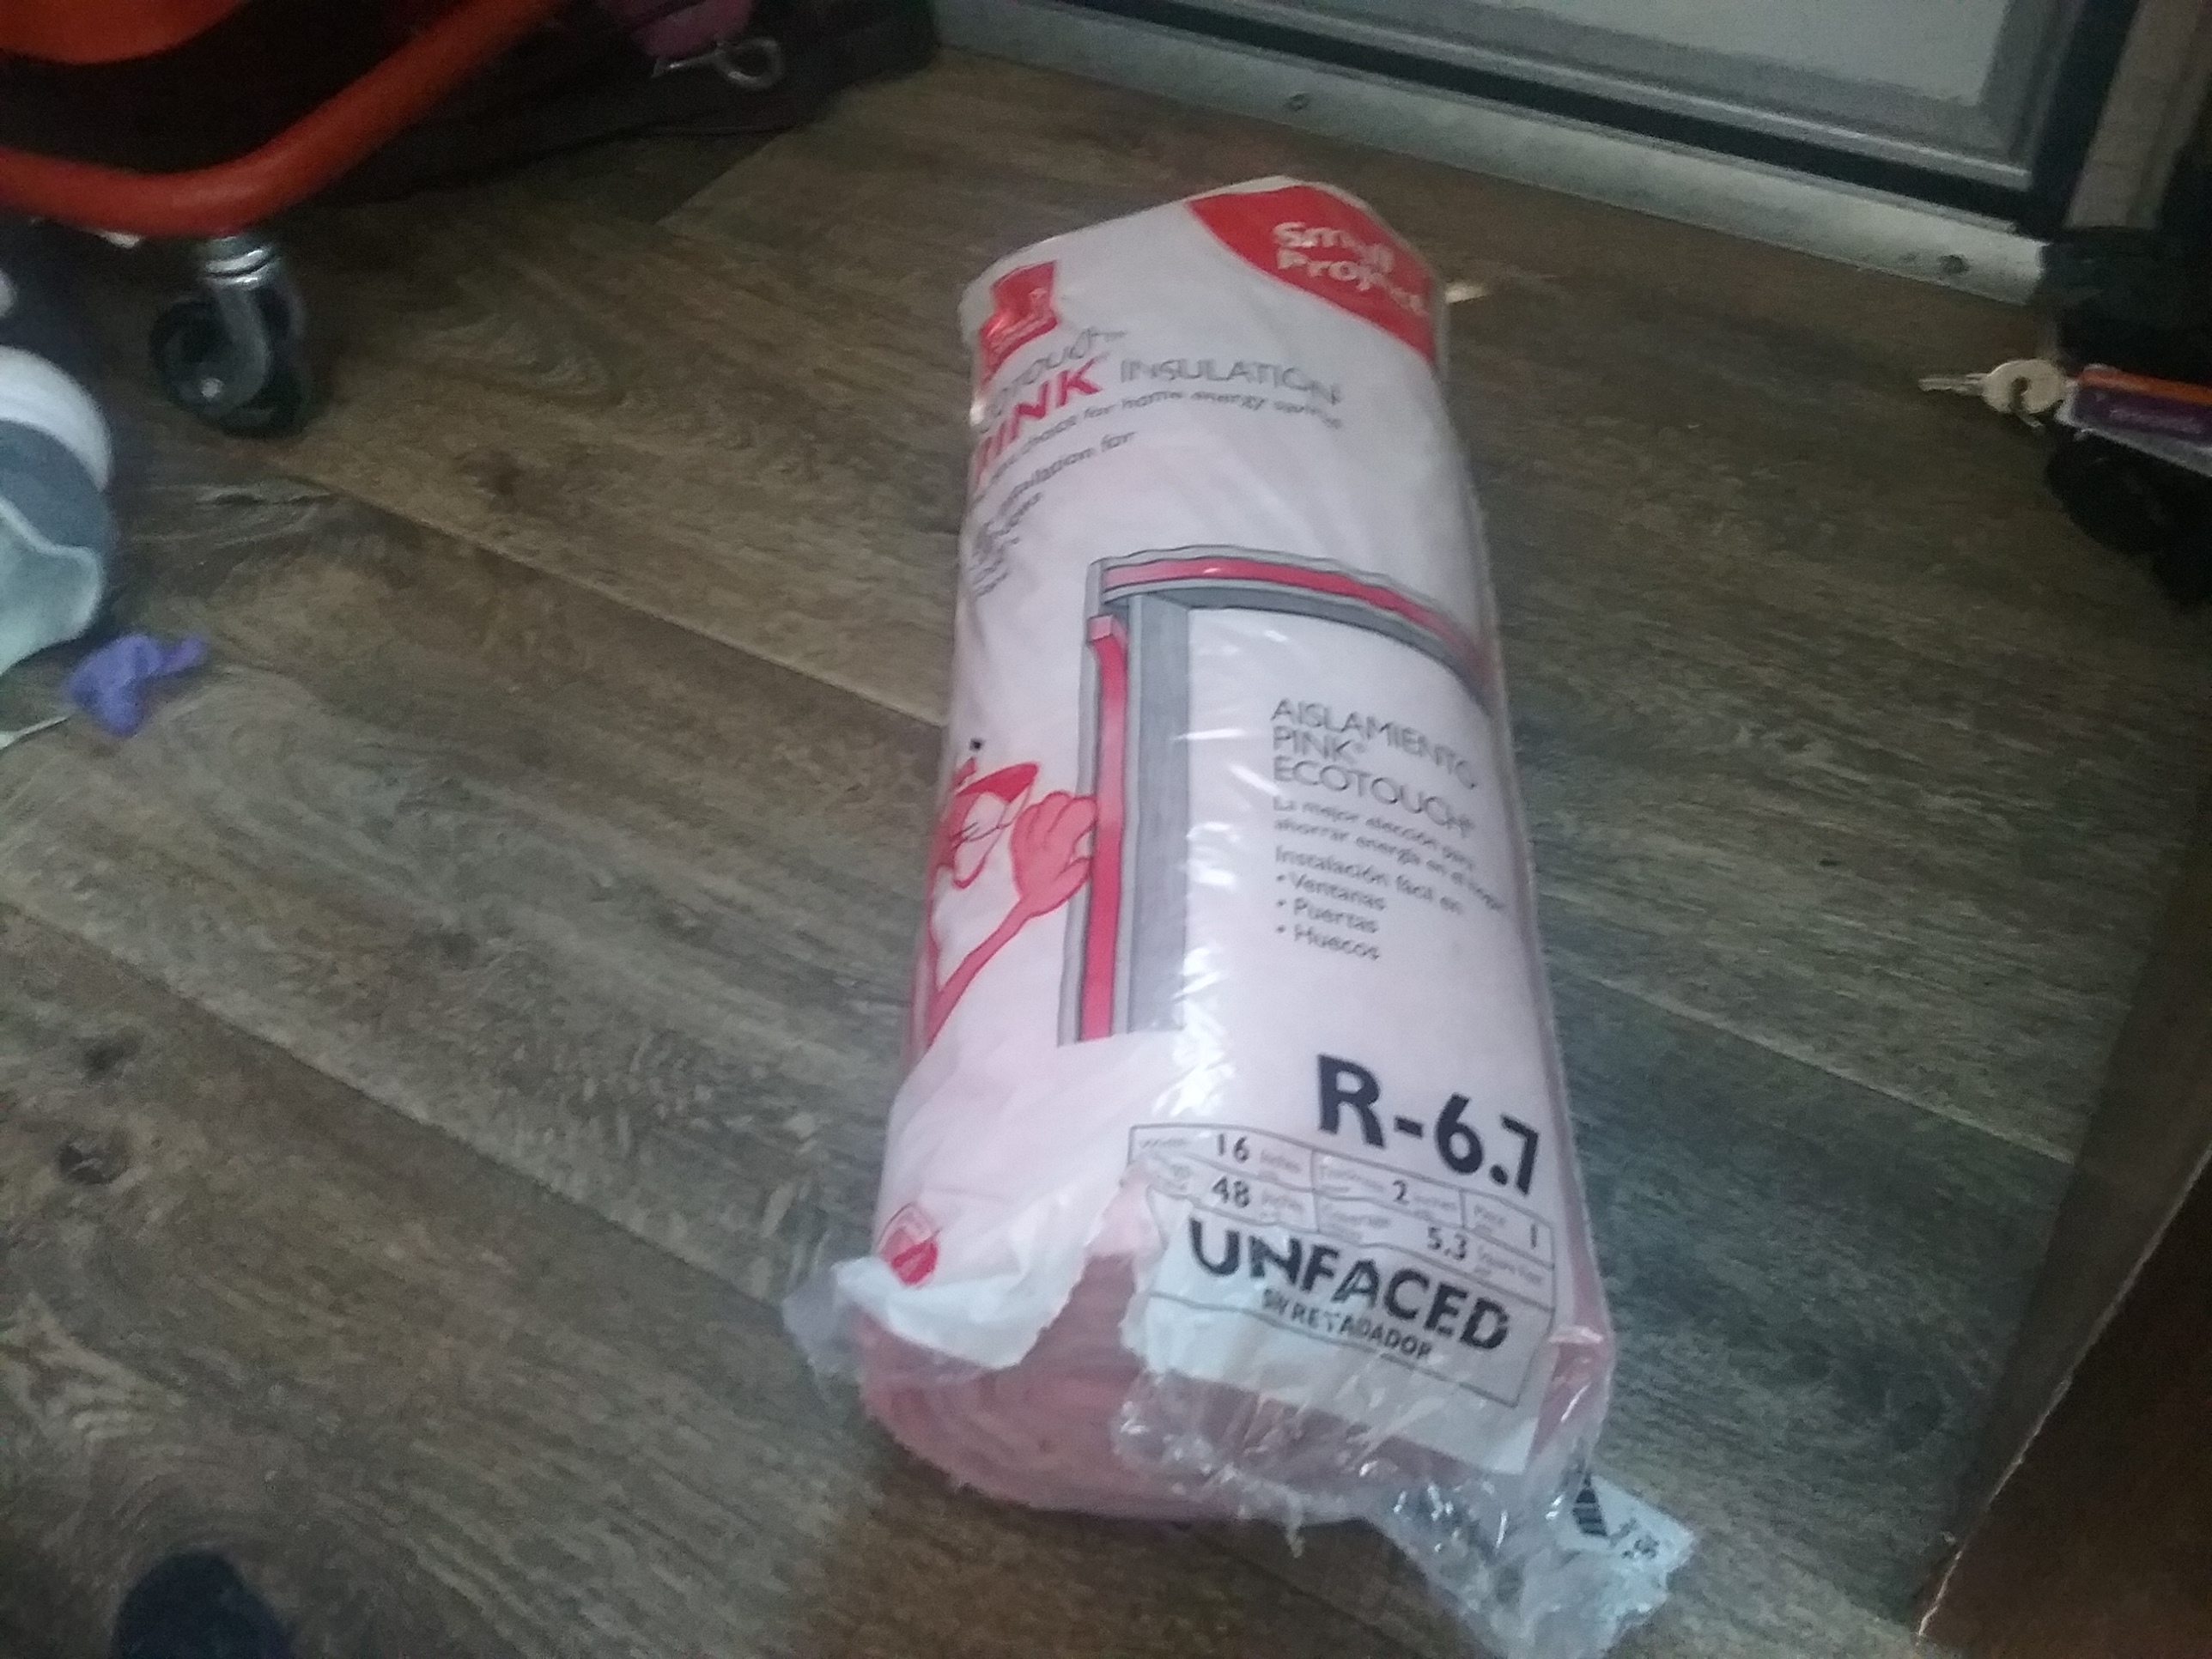
Next, I added some pink insulation

The one small role only filled the back corner of the space, so I will need about 4 more roles (at $6 each) the next time I get to the hardware store. I am moving in a few days to a warmer area so no need to rush out! What I have already done is a huge improvement!
Another easy project to complete with College Football on in the background!


